How to Build a Wooden Dresser Step by Step
Building your own wooden dresser can be a rewarding project that not only enhances your woodworking skills but also brings a personal touch to your home. In this guide, we will walk you through the process step by step, using basic tools and materials. Whether you're a complete beginner or have some experience, this project is designed to be simple and achievable.
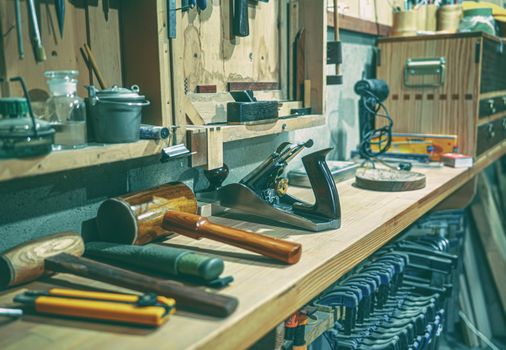
Materials and Tools Needed
- Materials:
- 3/4-inch plywood (for the body)
- 1/2-inch plywood (for the drawer bottoms)
- Wood glue
- Wood screws
- Drawer slides (optional)
- Sandpaper (various grits)
- Wood finish or paint (optional)
- Tools:
- Table saw or circular saw
- Drill with bits
- Screwdriver
- Tape measure
- Square
- Pencil
- Clamps
Step 1: Planning Your Dresser
Before you start cutting wood, sketch out a simple design for your dresser. Consider the dimensions based on your space needs and how many drawers you want. A typical dresser might have 4 to 6 drawers.
Step 2: Cutting the Wood
Using your table saw or circular saw, cut your plywood into the following pieces:
- Top Panel: 48" x 18"
- Side Panels (2): 24" x 18"
- Bottom Panel: 46" x 18"
- Back Panel: 48" x 24"
- Drawer Fronts (4): 24" x 6"
- Drawer Sides (8): 24" x 5"
- Drawer Bottoms (4): 22" x 16"
- Drawer Backs (4): 22" x 6"
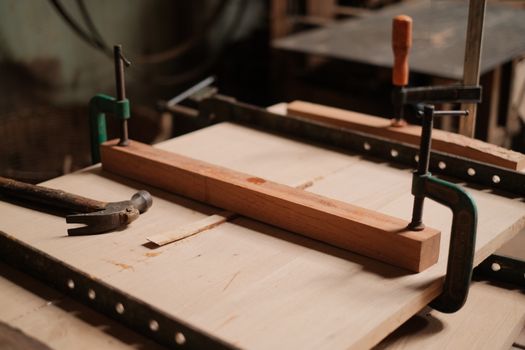
Step 3: Assembling the Main Structure
Start by assembling the main body of the dresser:
- Attach the side panels to the bottom panel using wood glue and screws. Make sure the edges are flush and square.
- Next, attach the back panel to the assembled sides and bottom. This will help square up the dresser.
- Finally, secure the top panel to the structure using wood glue and screws. Ensure everything is level and square.
Step 4: Making the Drawers
Now it's time to build the drawers:
- Start by assembling the drawer sides, front, and back using wood glue and screws. Make sure to drill pocket holes for better joints.
- Attach the drawer bottom to the assembled frame using glue and screws. Ensure it fits snugly.
- Repeat this process for all the drawers.
Step 5: Installing the Drawers
Once your drawers are built, it's time to install them into the dresser:
- If using drawer slides, attach them to the sides of the dresser and the drawers according to the manufacturer's instructions.
- Ensure that each drawer opens and closes smoothly.
Step 6: Sanding and Finishing
To achieve a smooth surface, sand the entire dresser and drawers using various grits of sandpaper, starting with a rougher grit and finishing with a finer one. After sanding, wipe away any dust.
You can choose to paint or stain your dresser to match your decor. Apply a wood finish as per the instructions on the product.
Step 7: Final Assembly and Touches
After the finish has dried, install any hardware such as knobs or handles on the drawers. You can also add felt pads to the bottom of the dresser to protect your flooring.
Step 8: Enjoy Your New Dresser!
Congratulations! You have successfully built your own wooden dresser. Take a step back and admire your handiwork. If you need more detailed plans and resources, consider checking out Ted Woodworking for extensive furniture plans.
FAQs
1. What type of wood is best for building a dresser?
Plywood is a great option due to its durability and cost-effectiveness. You can also use solid wood like pine or oak for a more traditional look.
2. How long does it take to build a wooden dresser?
The time required depends on your skill level and the complexity of the design, but a simple dresser can typically be completed in a weekend.
3. Do I need any special tools to build a dresser?
No, you can complete this project with basic tools such as a circular saw, drill, and a screwdriver. Advanced tools can make the job easier, but they are not necessary for beginners.
🔨 Want 16,000+ Woodworking Plans?
Get instant access to step-by-step plans with blueprints and cut lists.
Get Instant Access →